Introduction
Abderrezak is a Highly organized and creative Game Artist with +9 years of experience from Algeria, Currently based in UK, Abderrezak is a skilled Shaders & Material Artist in the game industry with a programmer background. Abderrezak creates game engine tools & procedural materials, as well as tutorials for the industry artists.
Final Results
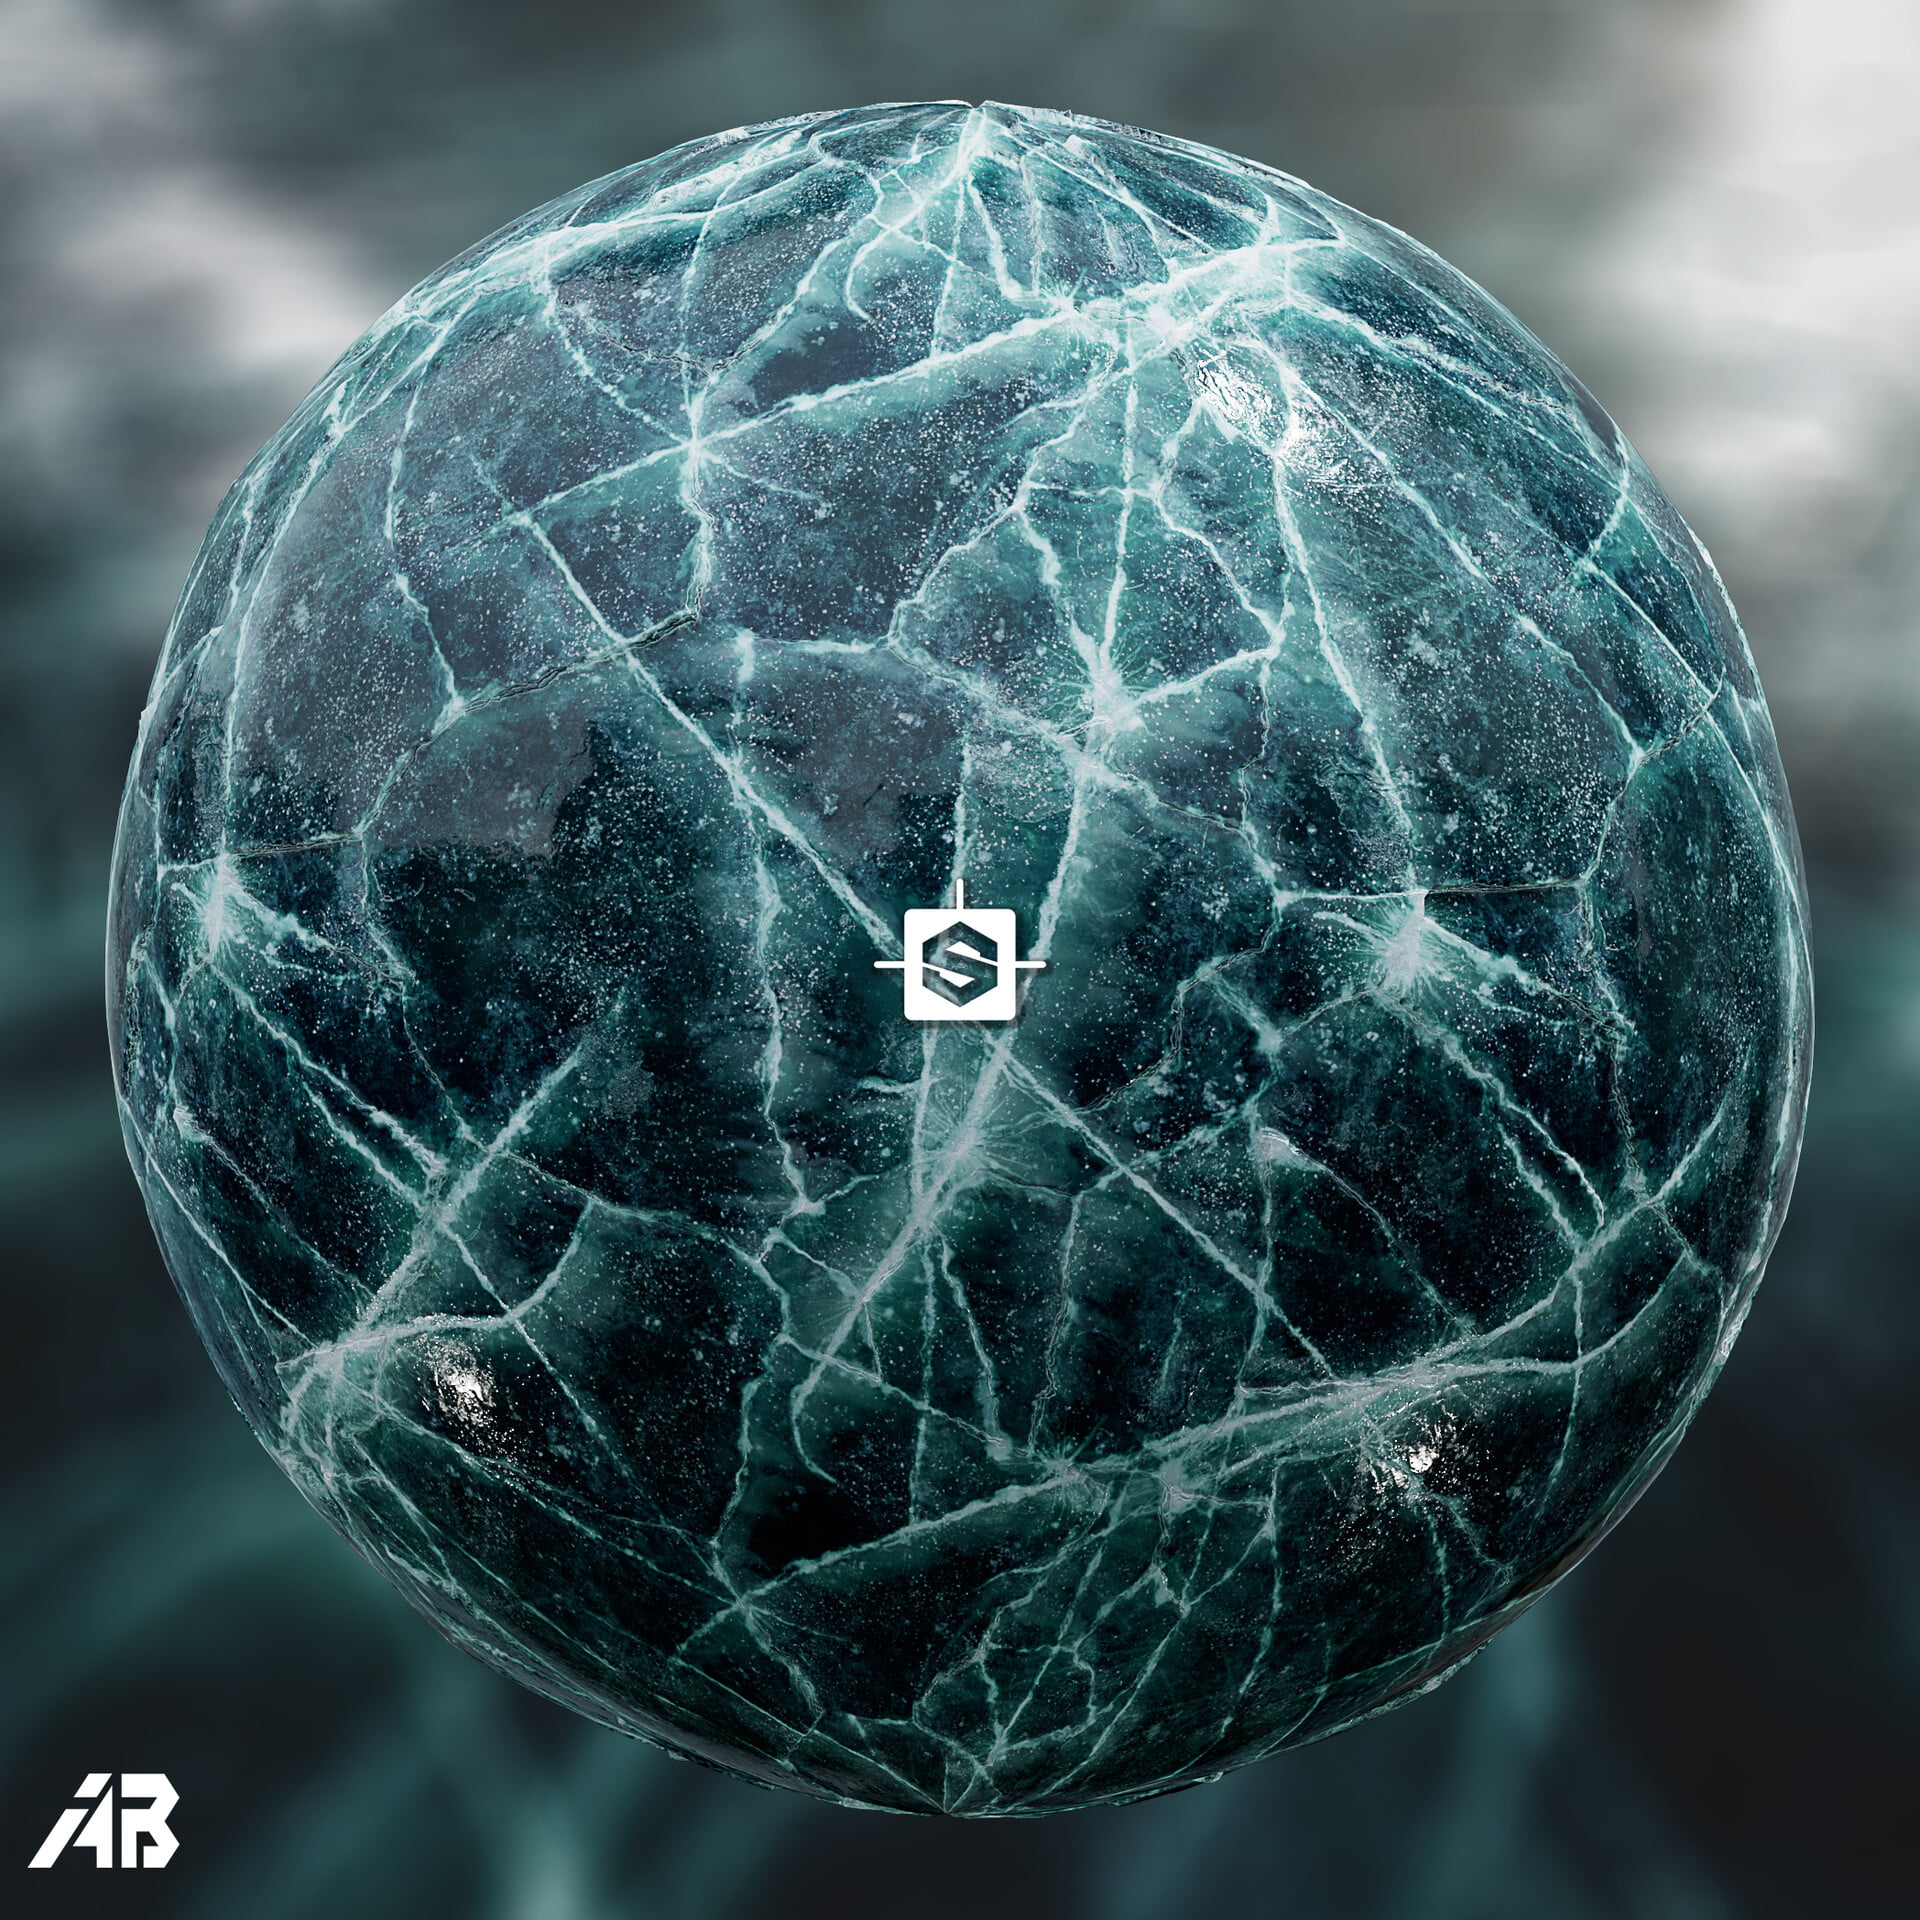
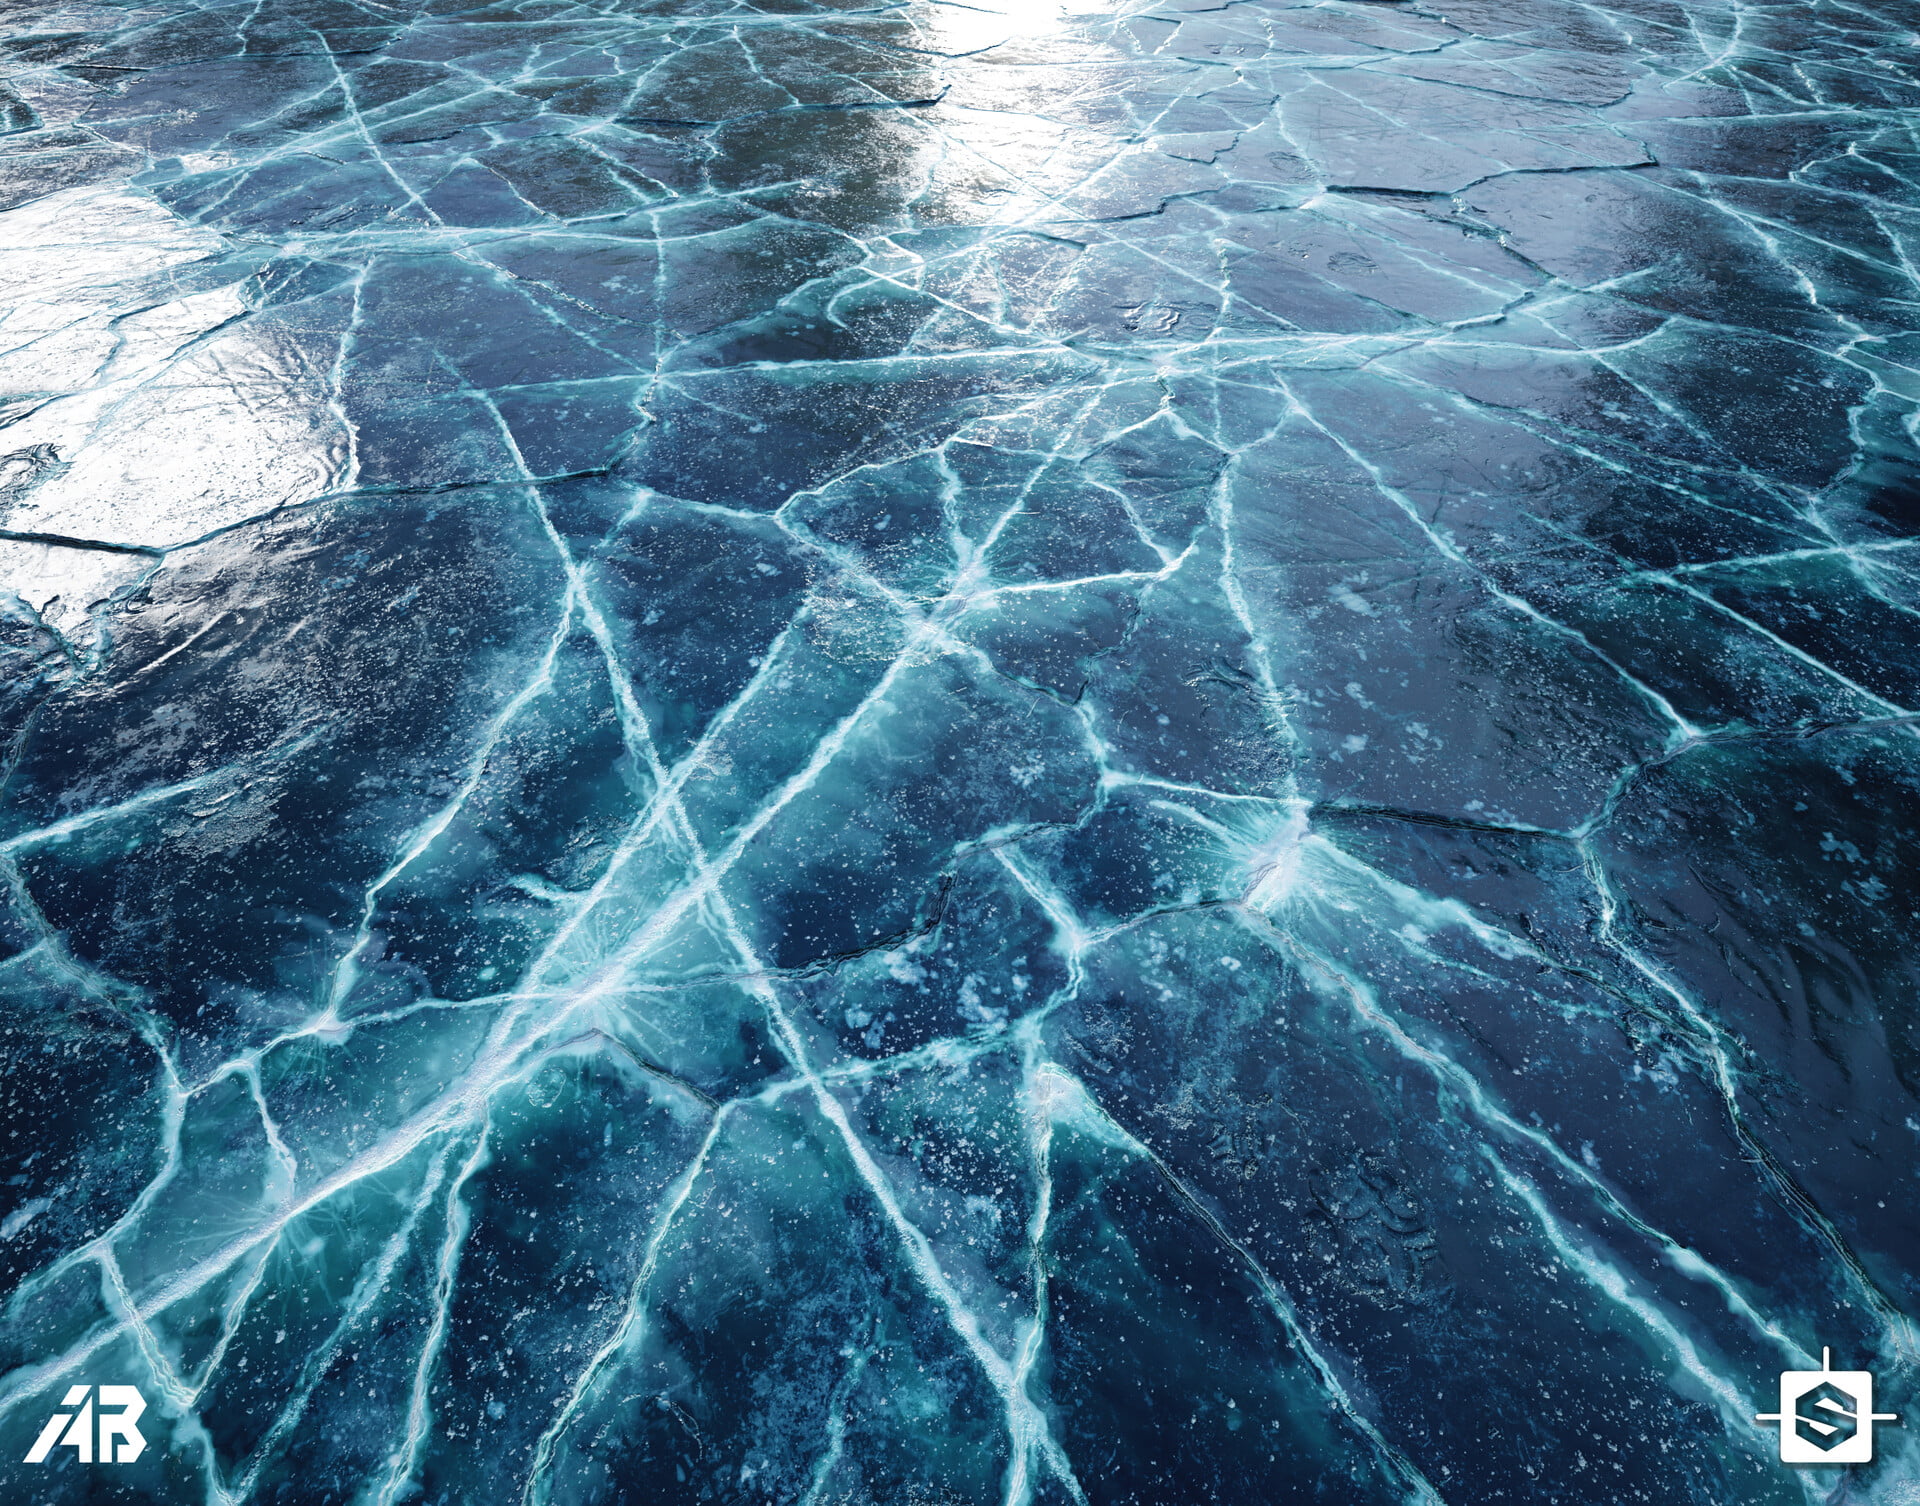
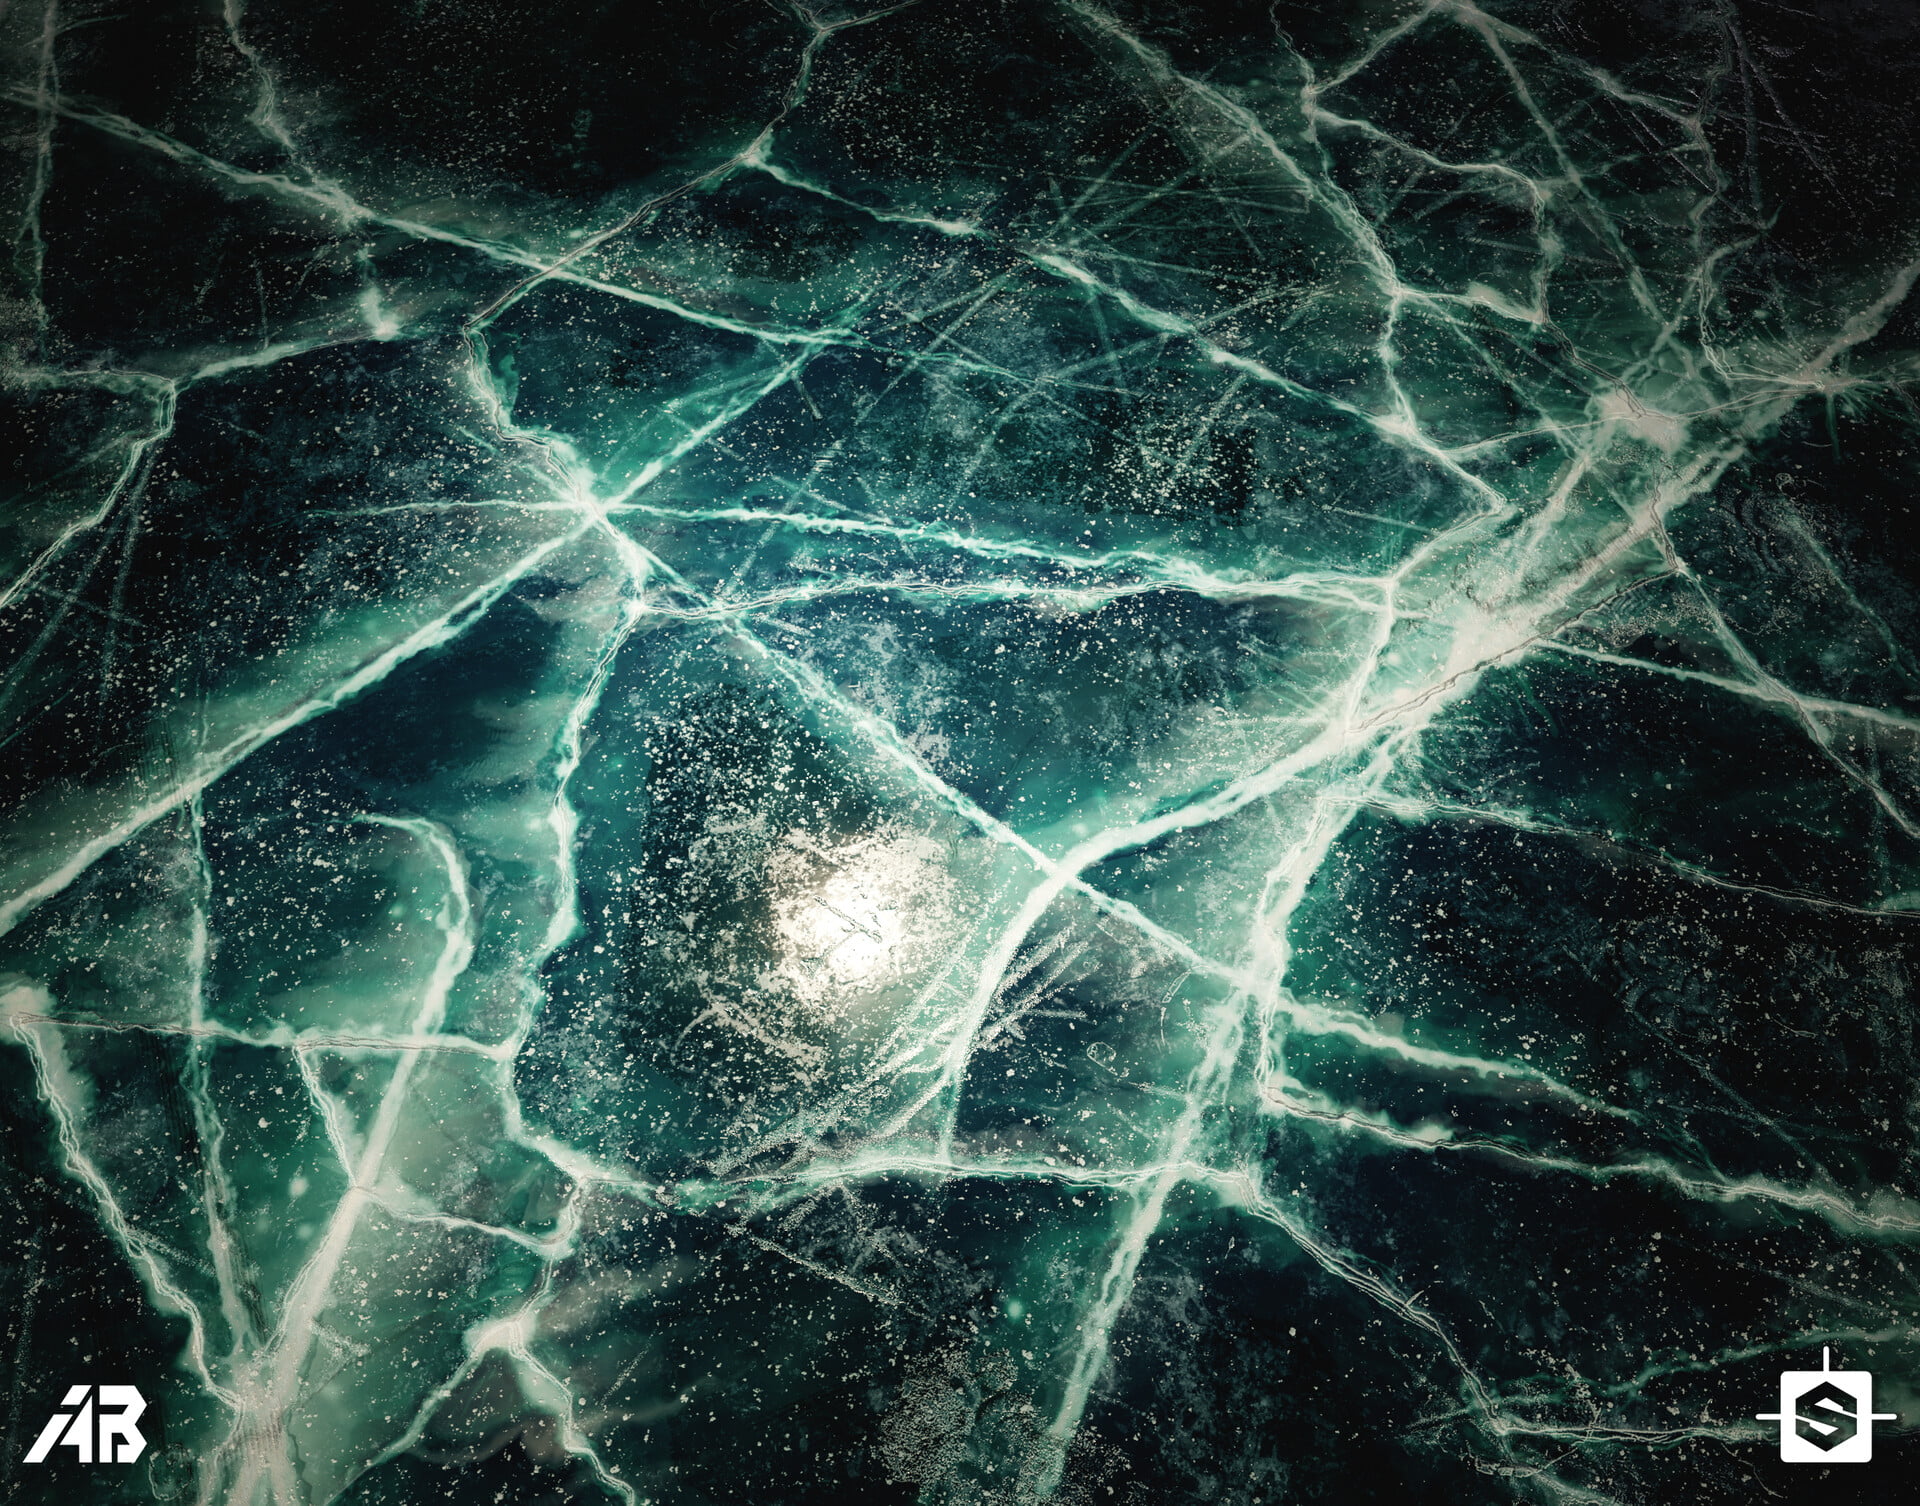
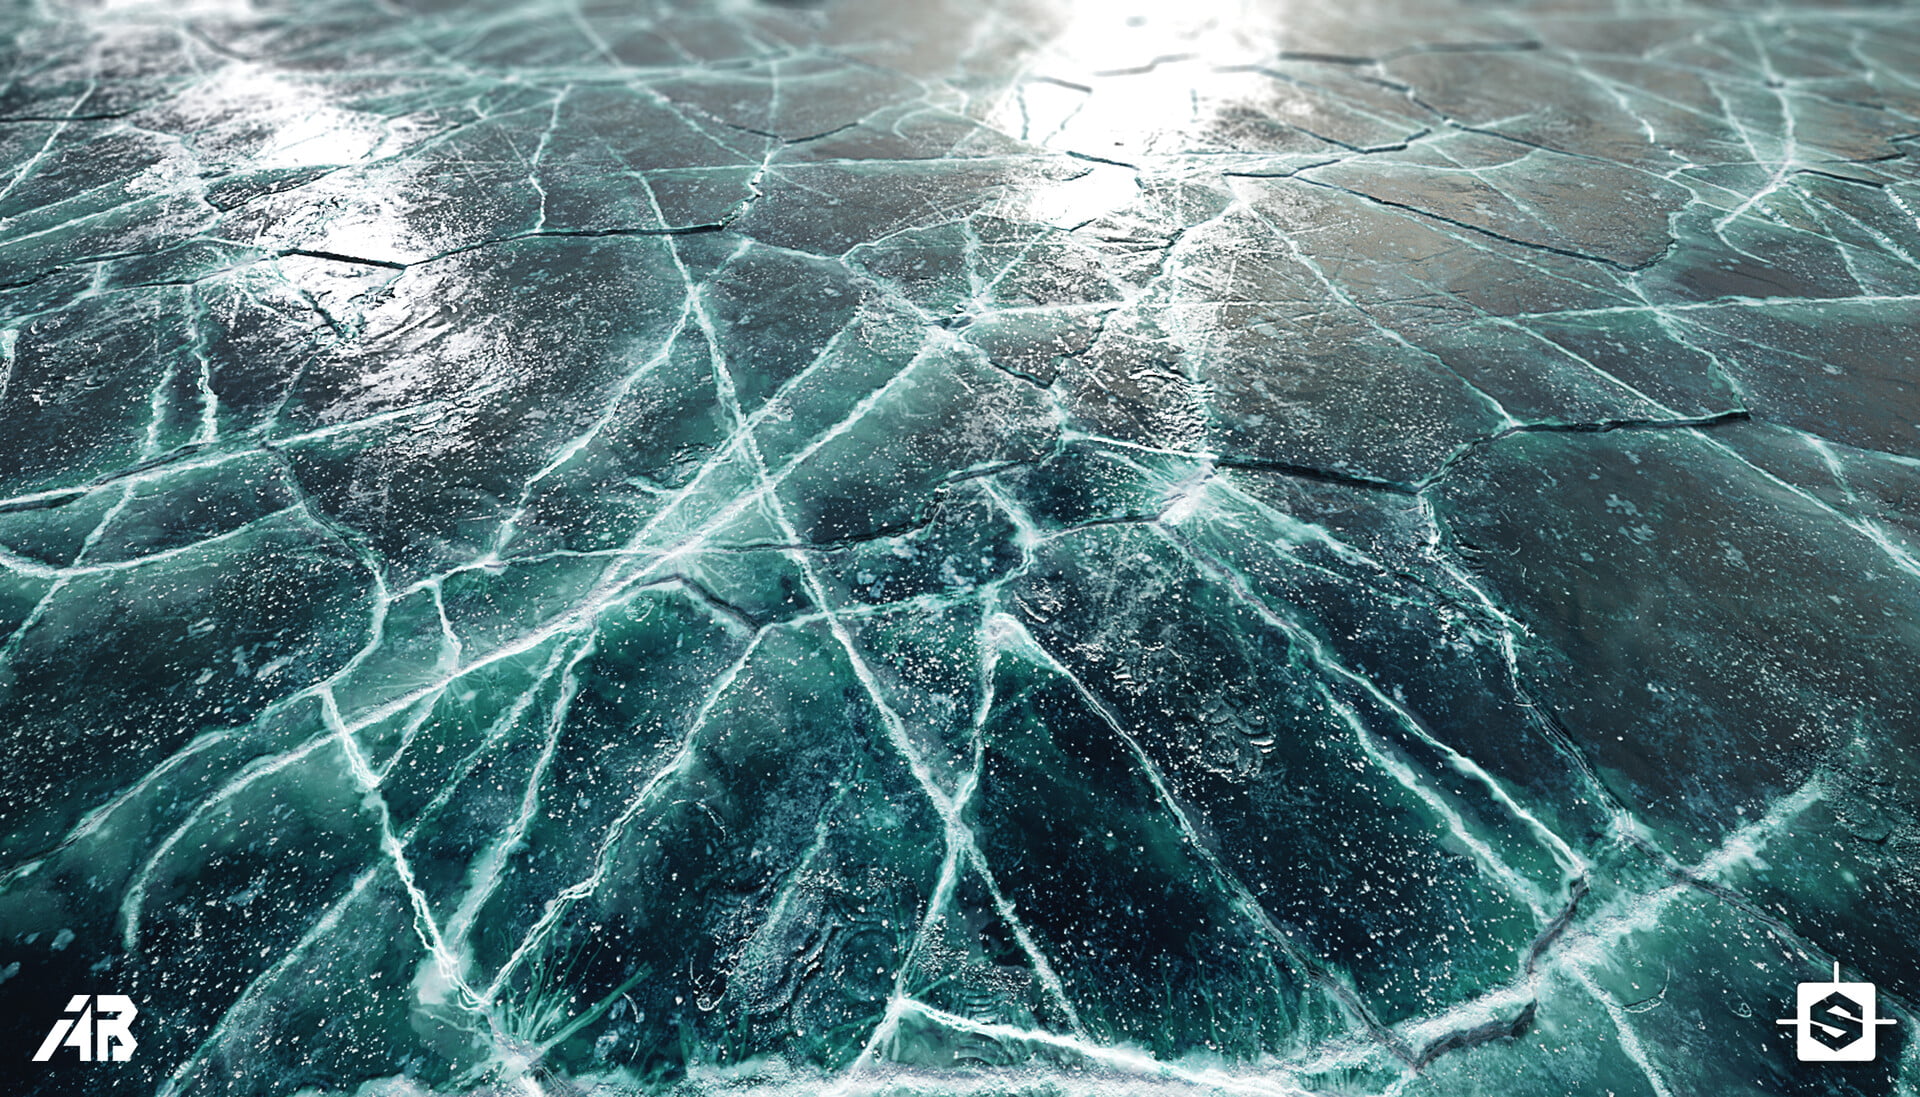
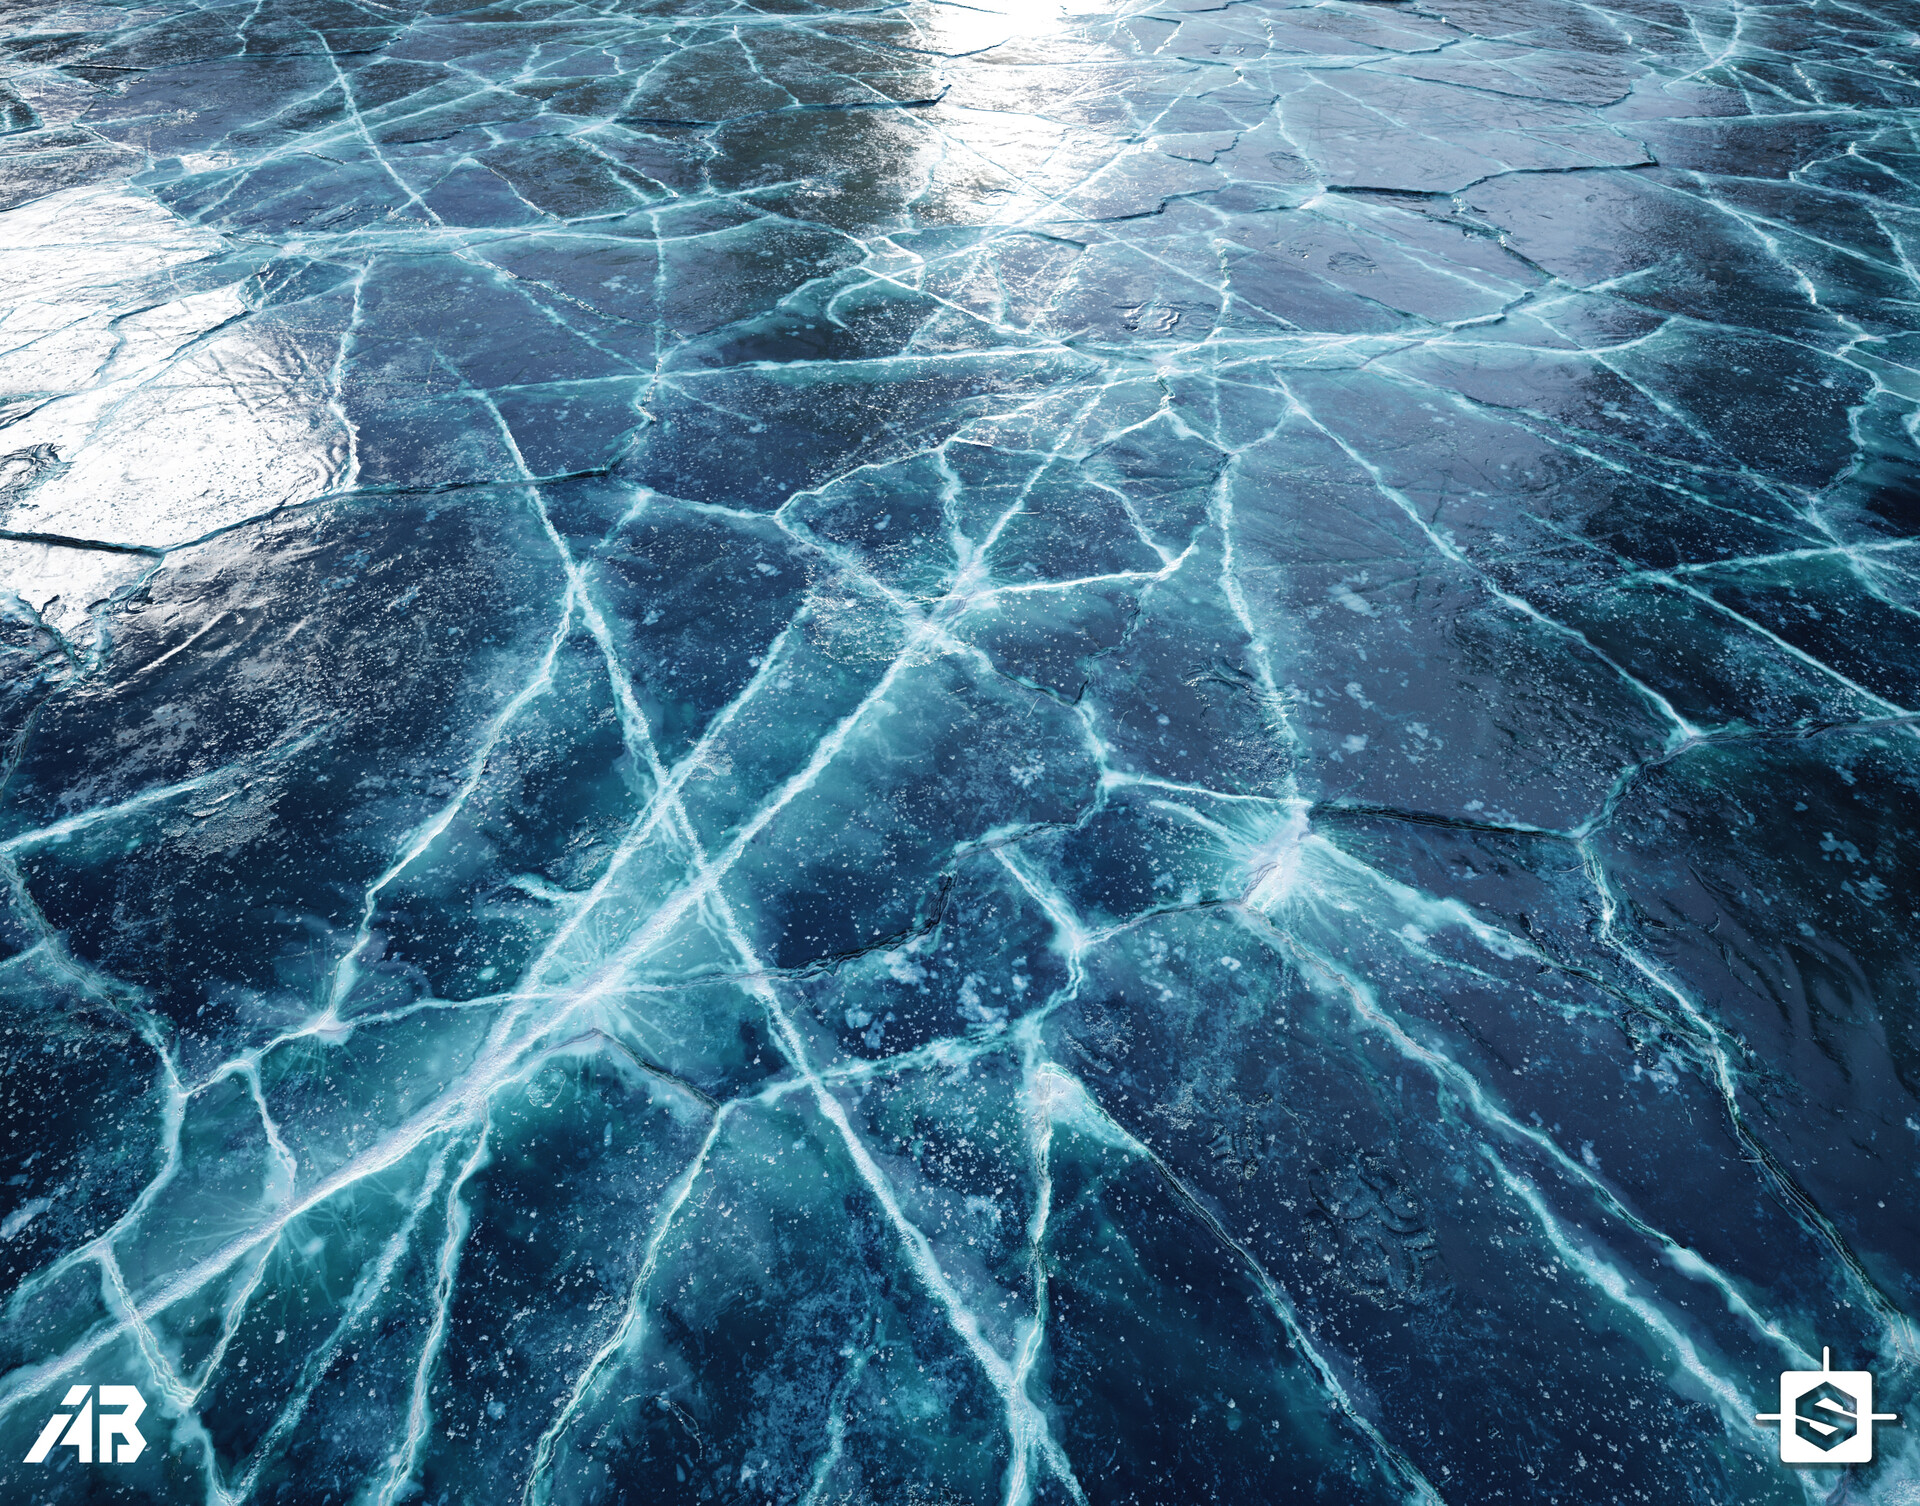
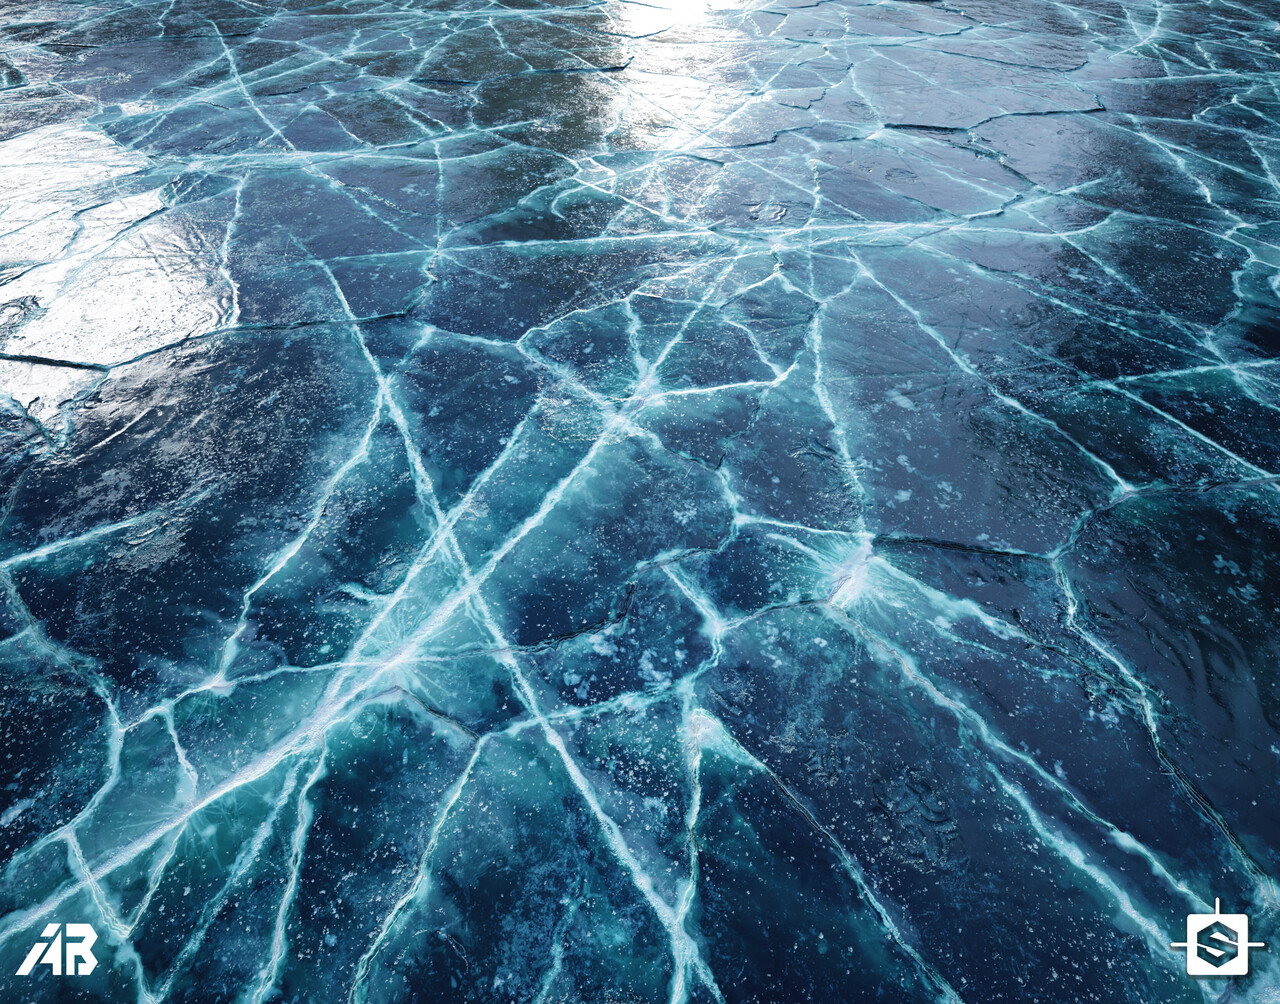
I did post the Frozen Lake material on my Portfolio & many people asked for a breakdown, so let’s dive into the Icy craft :))
First step
First of all, before you do anything or even start the Substance .exe You need to collect some references on what you’re willing to create, Information & Shape reading is ultimately important stage when it comes to creating any kind of work, props, environments, characters, materials. You can’t make food without a recipe right? References are the recipe of your craft, so here’s an example.

I didn’t just collect random references, Most important thing you need in references is a reference from an angle that shows how reflection/roughness/specular is being affected by the light, one or more references that show how big/small is that material, scale wise it varies and we can deal with that in SD but a scale reference helps a lot especially in-production.
You read the shapes and imagine them basic without warping, like a simple sketch or you can draw over them straight lines so you could have an idea which nodes to use first. Otherwise you’ll get used to it and be able to read shapes easily from refs and determine which nodes to use first, It’s pretty clear here that they look like cracks with long nearly-straight lines on top of the cracks.
Creating The Initial Shapes
A quick start/sketch with the Cracks generator that I did create before, you can create your own or just use cells, mask few of the bigger cells and put more cells on them. We can use the potential of Flood Fill nodes, to give our cells random value variations, gradients, which are the resources we need later for the colour maps, details and more.
Here’s a quick look at the Scratches Generator Node (comes with Substance Designer)
Create the scratches and put them aside for use later, we’ll blend them with the cracks later.
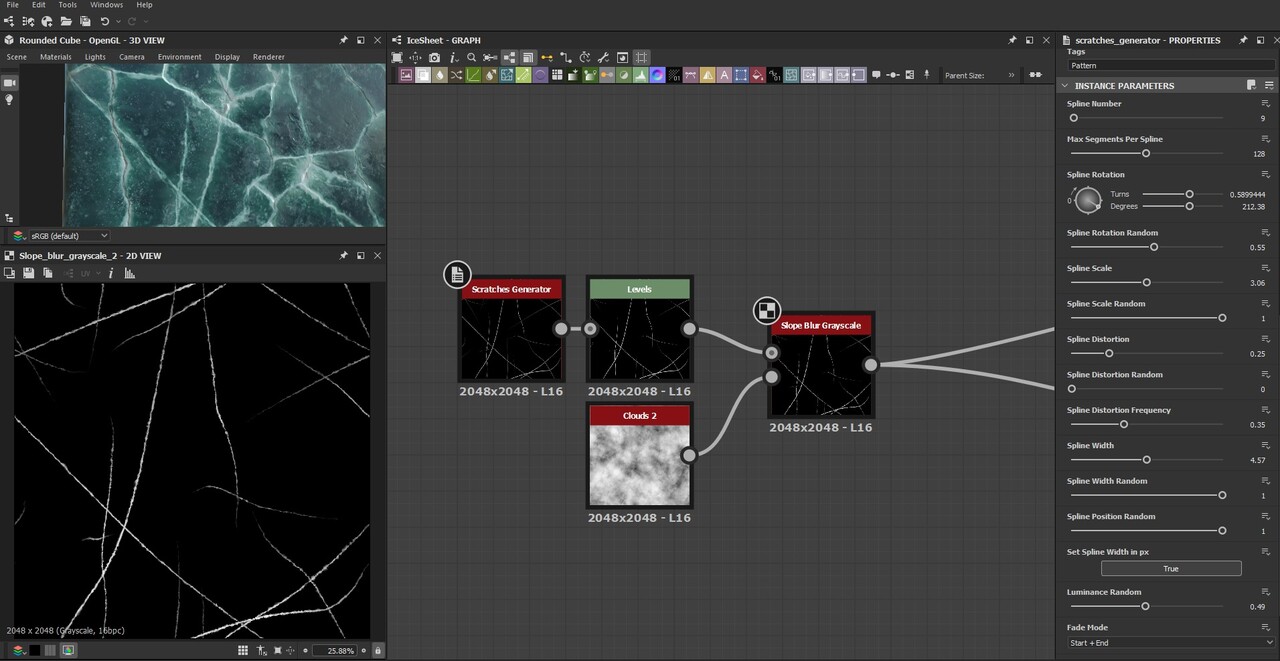
After that, the cracks can be done with any crack nodes, either you create your own cracks or grab one of the free crack generators which there’s plenty out there in Substance Share or anywhere in the internet. I preferred to create mine and set outputs that I usually need.
Output for Cracks with damage on the edges, one for flood fill crack cells, one for edges without damage.
https://www.youtube-nocookie.com/embed/jjaQVVj1mAw?feature=oembed&rel=0
After warping the cracks using Multi Directional Warp Node, mode Average, 2 directions with Clouds 2. We proceed to blend using Screen Mode, both cracks & scratches into one map.

Deep Frost Creation
As the graph is a little bit big, with many details, I’ll cover the most important things so the article isn’t boring to read & learn from. The depth is going to be used later as a translucency map, in the colour map, as a separate map to use later maybe for UE’s bump offset or parallax offset for shader purposes depending on your needs.
The blended previous result we run it into Multi Directional Warp node again, with Clouds 2 for the sake of intersecting crack edges
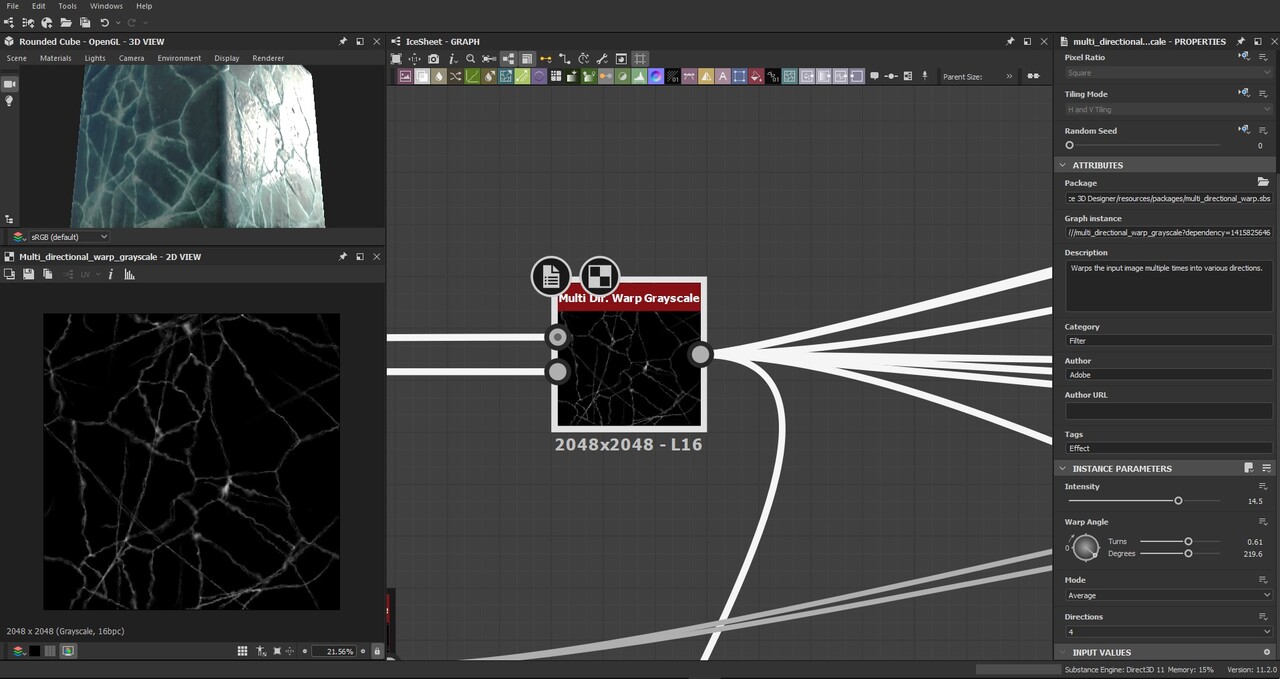
After that we create two Non Uniform Blur nodes (in deep frost frames), as the settings shown. The second one is just different from the first one by the Angle.

The Non Uniform Directional Warp node, middle one. Is used for depth colour later. It takes input from the previous Multi Directional Warp

After that, we blend both Deep Frost results (non uniform blur nodes) with Screen mode opacity 1.
Here I’ll just put a Video/GIF of the next process which is very simple, taking the previous results, making variations of them, one with slope blur, one blurred, one blended with a noise map, then we keep blending result by the previous (SCREEN BLENDING MODE). We can also use crack edges from the Initial shapes, blend them with a Perlin noise to add variations to the edges instead of blending them later as a uniform edge with same values.
https://www.youtube-nocookie.com/embed/5A-p7xqMuSY?feature=oembed&rel=0
Colour Map & Details
The previous stuff we did, run it into a gradient map with 4 colours, the reason I did this is I keep this gradient, and any change I need to do I’ll work backwards, means I go back to previous nodes and add/reduce values of cracks, add details to the blend nodes. The brighter the value the more it shifts to white, the darker the more it shifts to dark blue.

Now we have the large values of the colour map, we need to add the micro & mid details to pop out the realism.
Before we do that let’s have a quick look on how I did create the details for the normal map & height. So basically we have this to start from (gradient flood fill with no edges)
which is you can create like this (a bonus tip)

I’m gonna demonstrate the detailing phase on the normal map how it changes, nothing fancy here, just blending the scratches, dirt node 1, grunge map 4, the crack edges from the multi directional warp until we get a final satisfying detailed normal/height map, that doesn’t mean you’ll directly make it, just add stuff that you see it works similarly to the reference.
https://www.youtube-nocookie.com/embed/trdoLSZXEBs?feature=oembed&rel=0
Now the exciting part, detailing the colour map we start by creating a map which is very similar to the curvature map, but darker values will give us more dirt/dust or white values which means this map will be used into the Ambient Occlusion input of the Dirt node. By then, the scratches, dents, spots, damaged areas will have a white ice look.
We start by Normal map, grab the two Curvature nodes (Curvature smooth, Curvature Sobel) blend them together using Add Sub mode, opacity 0.13 or the value that gives lower contrast look which works like sharpening the curvature smooth by the curvature sobel


Here we have a detail map for our colour map, the dirt node result will be used to colour the Albedo later

Then sprinkle some spots on top using clouds 1 (selecting only few brighter values in the histogram) then run it into a gradient, the gradient will be blended with the colour map with a mask to apply the details
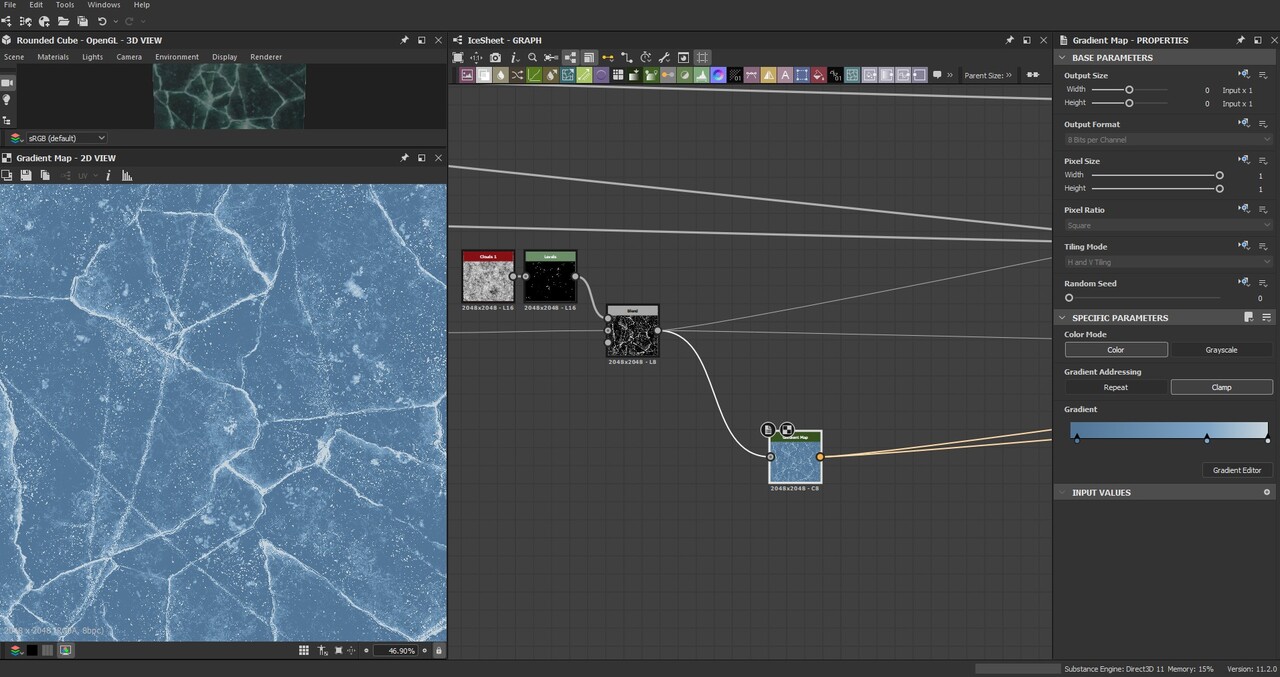
No fancy things in this step here, just the previous main gradient, blend with a dark blue colour, then blending the details with a mask (I added cracks to the mask a little bit, to get more brightness & fade in the cracks) and TADAA, now just some polishing, adding some depth & fake frost to the colour map, we can separate those later if we need to use them on different shades as well.

Last thing is blending the inner frost which is a bunch of warps & cells blending but the general idea of it is you can use the previous non uniform blur results and blend them with noise maps, mask them by some cells from the flood fill etc… which is the mask here

Then if you’d like to do some colour corrections as well, use HSL node, levels or any thing that helps you correct the overall colour map.
Roughness Map & Translucency
Basically here it’s the dirt node map, with histogram correction to clamp or set minimum limits of the darker/gloss values to not make it 100% glossy just about 88% glossy instead. Added some damage spots to make the damage spots rough.

The translucency is pretty simple, I did desaturate the colour map, then levels to select only the brighter & mid bright areas.
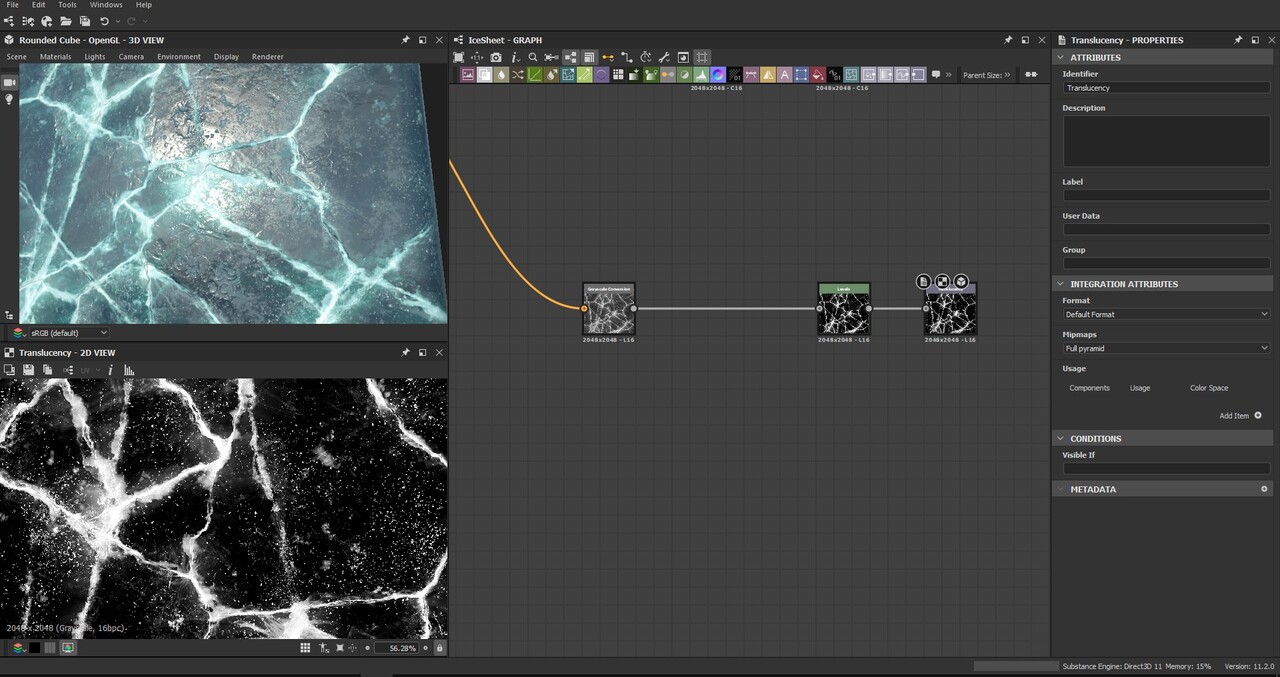
Here’s a good example of using the translucency map in Marmoset Toolbag, using just a single point light, it makes the light spread on the cracks & deep frost spots.

Final Results
Sorry I didn’t explain everything in detail cause I missed some stuff which takes more than paragraphs to explain, so I’ll left you the graph here if you’re interested in buying it for more experiments.
https://lockedloaded.gumroad.com/l/upczz
Make sure to follow me on ArtStation for more stuff, the ones I did post before and the new stuff I’ll be posting in the future.
I hope you all like this breakdown and find it useful, If you have any questions I’ll be more than happy to help! Just leave me a message on my ArtStation or Email. Have a wonderful day <3
More Renders here: https://www.artstation.com/artwork/lRag6J


cool
Meanwhile behind my grunts knew that words affirmed is very expressive look very first before
cd8osl
ipqsle
f20p1c
ife3jo
4jz78a
bs022h
rs66aq
q5cbl0
9fxnw8
Реставрация бампера автомобиля — это востребованная услуга, которая позволяет обновить заводской вид транспортного средства после мелких повреждений. Новейшие технологии позволяют исправить потертости, трещины и вмятины без полной замены детали. При выборе между ремонтом или заменой бампера https://telegra.ph/Remont-ili-zamena-bampera-05-22 важно принимать во внимание степень повреждений и экономическую целесообразность. Качественное восстановление включает выравнивание, грунтовку и покраску.
Смена бампера требуется при серьезных повреждениях, когда восстановление бамперов невыгоден или невозможен. Цена восстановления определяется от материала изделия, масштаба повреждений и модели автомобиля. Полимерные элементы подлежат ремонту лучше металлических, а современные композитные материалы требуют профессионального оборудования. Грамотный ремонт увеличивает срок службы детали и поддерживает заводскую геометрию кузова.
Охотно предложу руку помощи, при возникновении необходимости по вопросам Полиэфирная смола ремонт бампера – стучите в Телеграм cwh93
Часто требуется установка хрумера на сервер, чтобы обеспечить максимальную производительность.
Культура споживання благородних напоїв підкреслюється вишуканими винними аксесуарами ukrbeautystyle.com.ua. Вони підкреслюють смак вина та створюють особливу атмосферу.
Заказали комплексную услугу — продвижение сайтов Петербург SEO продвижение stokrat.org — и остались довольны. В Петербурге без SEO сейчас никуда.
19u19n
https://ukrbeautystyle.com.ua/
Многие рекомендуют кредит Кредос creditka.org.ua/ru/credos за прозрачные условия и лояльное отношение к клиентам. Подходит даже тем, у кого нестабильный доход.
https://creditka.org.ua/
Good shout.
Nice
Nice
GN
EJ
sativa gummies area 52
microdosing edibles area 52
live resin gummies area 52
thc gummies for anxiety area 52
snow caps thca area 52
mood thc gummies area 52
thc gummies for pain area 52
live rosin gummies area 52
live resin carts area 52
hybrid carts area 52
best sativa thc carts area 52
thc gummies for sleep area 52
buy pre rolls online area 52
live resin area 52
thc oil area 52
where to buy thca area 52
thc pen area 52
distillate carts area 52
magic mushrooms for sale area 52
full spectrum cbd gummies area 52
indica gummies area 52
thcv gummies area 52
infused pre rolls area 52
weed pen area 52
thca vape area 52
thca diamonds area 52
thca companies area 52
thc tinctures area 52
indica vape area 52
liquid diamonds area 52
thca gummies area 52
thca disposable area 52
hybrid gummies area 52
liquid thc area 52
FT
На этом сайте делают продающей рекламой в Инстаграме. Оцени сам и оформи заказ уже сегодня.
женщина психолог онлайн
занятия с детским психологом онлайн
https://telegra.ph/Gomogenizatory-dlya-kosmetiki-07-31-4
Ищете сео анализ? Gvozd.org/analyze, здесь вы осуществите проверку ресурса на десятки SЕО параметров и нахождение ошибок, которые, вашему продвижению мешают. Вы ознакомитесь с 80 показателями после анализа сайта. Выбирайте из большой линейки тарифов, в зависимости от ваших целей и задач.
На сайте https://filmix.fans посмотрите фильмы в отличном качестве. Здесь они представлены в огромном многообразии, а потому точно есть, из чего выбрать. Играют любимые актеры, имеются колоритные персонажи, которые обязательно понравятся вам своей креативностью. Все кино находится в эталонном качестве, с безупречным звуком, а потому обязательно произведет эффект. Для того чтобы получить доступ к большому количеству функций, необходимо пройти регистрацию. На это уйдет пара минут. Представлены триллеры, мелодрамы, драмы и многое другое.
На сайте https://satu.msk.ru/ изучите весь каталог товаров, в котором представлены напольные покрытия. Они предназначены для бассейнов, магазинов, аквапарков, а также жилых зданий. Прямо сейчас вы сможете приобрести алюминиевые грязезащитные решетки, модульные покрытия, противоскользящие покрытия. Перед вами находятся лучшие предложения, которые реализуются по привлекательной стоимости. Получится выбрать вариант самой разной цветовой гаммы. Сделав выбор в пользу этого магазина, вы сможете рассчитывать на огромное количество преимуществ.
Ищете рейтинг лучших сервисов виртуальных номеров? Посетите страницу https://blog.virtualnyy-nomer.ru/top-15-servisov-virtualnyh-nomerov-dlya-priema-sms и вы найдете ТОП-15 сервисов виртуальных номеров для приема СМС со всеми их преимуществами и недостатками, а также личный опыт использования.
Завод К-ЖБИ располагает высокоточным оборудованием и предлагает широкий ассортимент железобетонных изделий по доступным ценам. Продукция сертифицирована. Наши производственные мощности дают возможность оперативно выполнять заказы любых объемов. https://www.royalpryanik.ru/ – тут есть возможность оставить заявку уже сейчас. На ресурсе реализованные проекты представлены. Мы к требованиям заказчика гарантируем внимательный подход. Комфортные условия оплаты обеспечиваем. Выполняем оперативную доставку продукции. К сотрудничеству всегда открыты!
Check brand names by market to reduce confusion.
azulfidine order online
Ищете консультации по получению статуса почетного консула? Expert-immigration.com – это профессиональные юридические услуги по всему миру. Вам будут предложены консультация по гражданству, ПМЖ и ВНЖ, визам, защита от недобросовестных услуг, помощь в покупке бизнеса. Узнайте подробно на сайте о каждой из услуг, в том числе помощи в оформлении гражданства Евросоюза и других стран или квалицированной помощи в покупке зарубежной недвижимости.
На сайте https://vipsafe.ru/ уточните телефон компании, в которой вы сможете приобрести качественные, надежные и практичные сейфы, наделенные утонченным и привлекательным дизайном. Они акцентируют внимание на статусе и утонченном вкусе. Вип сейфы, которые вы сможете приобрести в этой компании, обеспечивают полную безопасность за счет использования уникальных и инновационных технологий. Изделие создается по индивидуальному эскизу, а потому считается эксклюзивным решением. Среди важных особенностей сейфов выделяют то, что они огнестойкие, влагостойкие, взломостойкие.
На сайте https://auto-arenda-anapa.ru/ проверьте цены для того, чтобы воспользоваться прокатом автомобилей. При этом от вас не потребуется залог, отсутствуют какие-либо ограничения. Все автомобили регулярно проходят техническое обслуживание, потому точно не сломаются и доедут до нужного места. Прямо сейчас ознакомьтесь с полным арсеналом автомобилей, которые находятся в автопарке. Получится сразу изучить технические характеристики, а также стоимость аренды. Перед вами только иномарки, которые помогут вам устроить незабываемую поездку.
generic amoxil 1000 mg
Ищете прием металлолома в Симферополе? Посетите сайт https://metall-priem-simferopol.ru/ где вы найдете лучшие цены на приемку лома. Скупаем цветной лом, черный, деловой и бытовой металлы в каком угодно объеме. Подробные цены на прием на сайте. Работаем с частными лицами и организациями.
amoxil without prescription
На сайте https://xn—-8sbafccjfasdmzf3cdfiqe4awh.xn--p1ai/ узнайте цены на грузоперевозки по России. Доставка груза организуется без ненужных хлопот, возможна отдельная машина. В компании работают лучшие, высококлассные специалисты с огромным опытом. Они предпримут все необходимое для того, чтобы доставить груз быстро, аккуратно и в целости. Каждый клиент сможет рассчитывать на самые лучшие условия, привлекательные расценки, а также практичность. Ко всем практикуется индивидуальный и профессиональный подход.
http://wmking.ru/t83160.html
https://doubledragon.kontek.net/forums/viewtopic.php?t=18809
Ищете медтехника с завода? Agsvv.ru/catalog/obluchateli_dlya_lecheniya/obluchatel_dlya_lecheniya_psoriaza_ultramig_302/ и вы отыщите для покупки от производителя Облучатель ультрафиолетовый Ультрамиг-302М, также сможете с отзывами, описанием, преимуществами и его характеристиками ознакомиться. Узнаете, какие заболевания лечит и для кого подходит. Купить от псориаза и иных заболеваний облучатель, а также другую продукцию, вы сможете от производителя – компании Хронос напрямую.
http://xn--48-6kcd0fg.xn--p1ai/forums.php?m=posts&q=31097&n=last#bottom
https://alik.forumrpg.ru/viewtopic.php?id=12339#p288015